Logo to SVG Workflow
Choose the best logo source, trace only when necessary, and prepare a reviewed SVG master and optimized delivery file.
Quick Summary
- Use the original vector design whenever it exists; tracing a raster export cannot recover its original curves, layers, or typography.
- Automatic tracing works best for clean shapes with limited colors and requires review at small and large sizes.
- Keep an editable master separate from the optimized SVG delivered to websites and applications.
- Category
- Design
- Difficulty
- Intermediate
- Reading Time
- 4 min
- Related Tool
- Image to SVG
- Best For
- Flat logos, Brand delivery files, Legacy raster marks
- Avoid For
- Photographic marks, Unlicensed artwork
Introduction
The best logo-to-SVG workflow starts by finding the original vector source. An AI, EPS, PDF, Figma, or existing SVG file usually contains more accurate curves and type than any traced PNG or JPG. Automatic tracing is a recovery workflow for suitable raster artwork, not a replacement for the original design file.
When the raster file is the only available source, the objective is to create a controlled, reviewed vector that preserves the brand mark without unnecessary complexity.
Choose the source
| Available source | Recommended action | Why |
|---|---|---|
| Original design file | Export a clean SVG | Preserves intended geometry and editable structure |
| Existing SVG | Inspect and optimize a copy | Avoids unnecessary retracing |
| High-resolution transparent PNG | Trace, then review carefully | Clean edges and transparency can produce useful shapes |
| Compressed JPG logo | Find a better source first | Compression artifacts can become extra paths |
| Photo or textured emblem | Keep raster or redraw manually | Automatic tracing usually creates dense, inaccurate output |
Measured raster recovery example
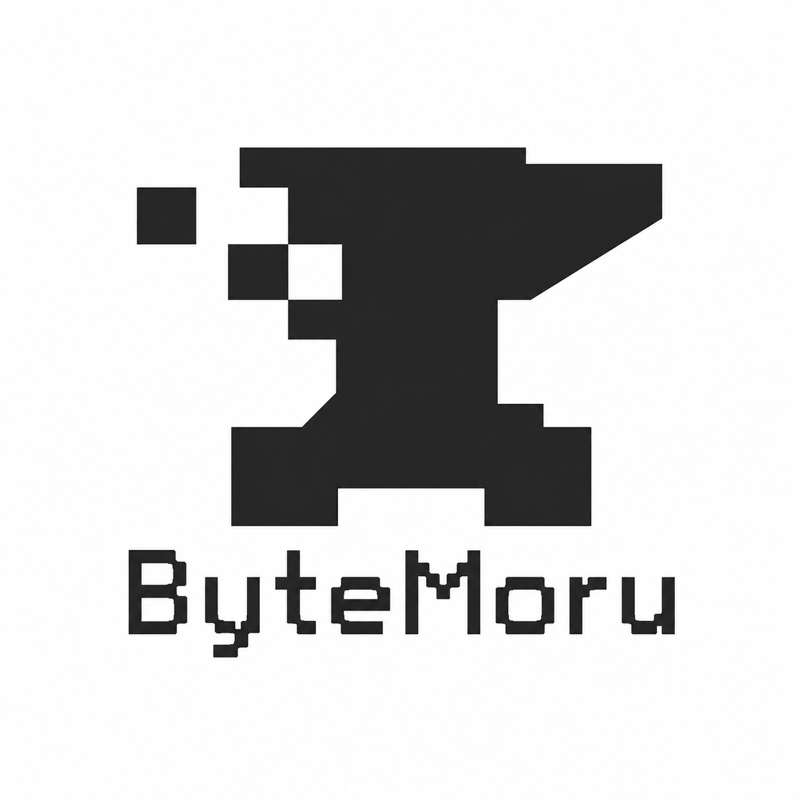
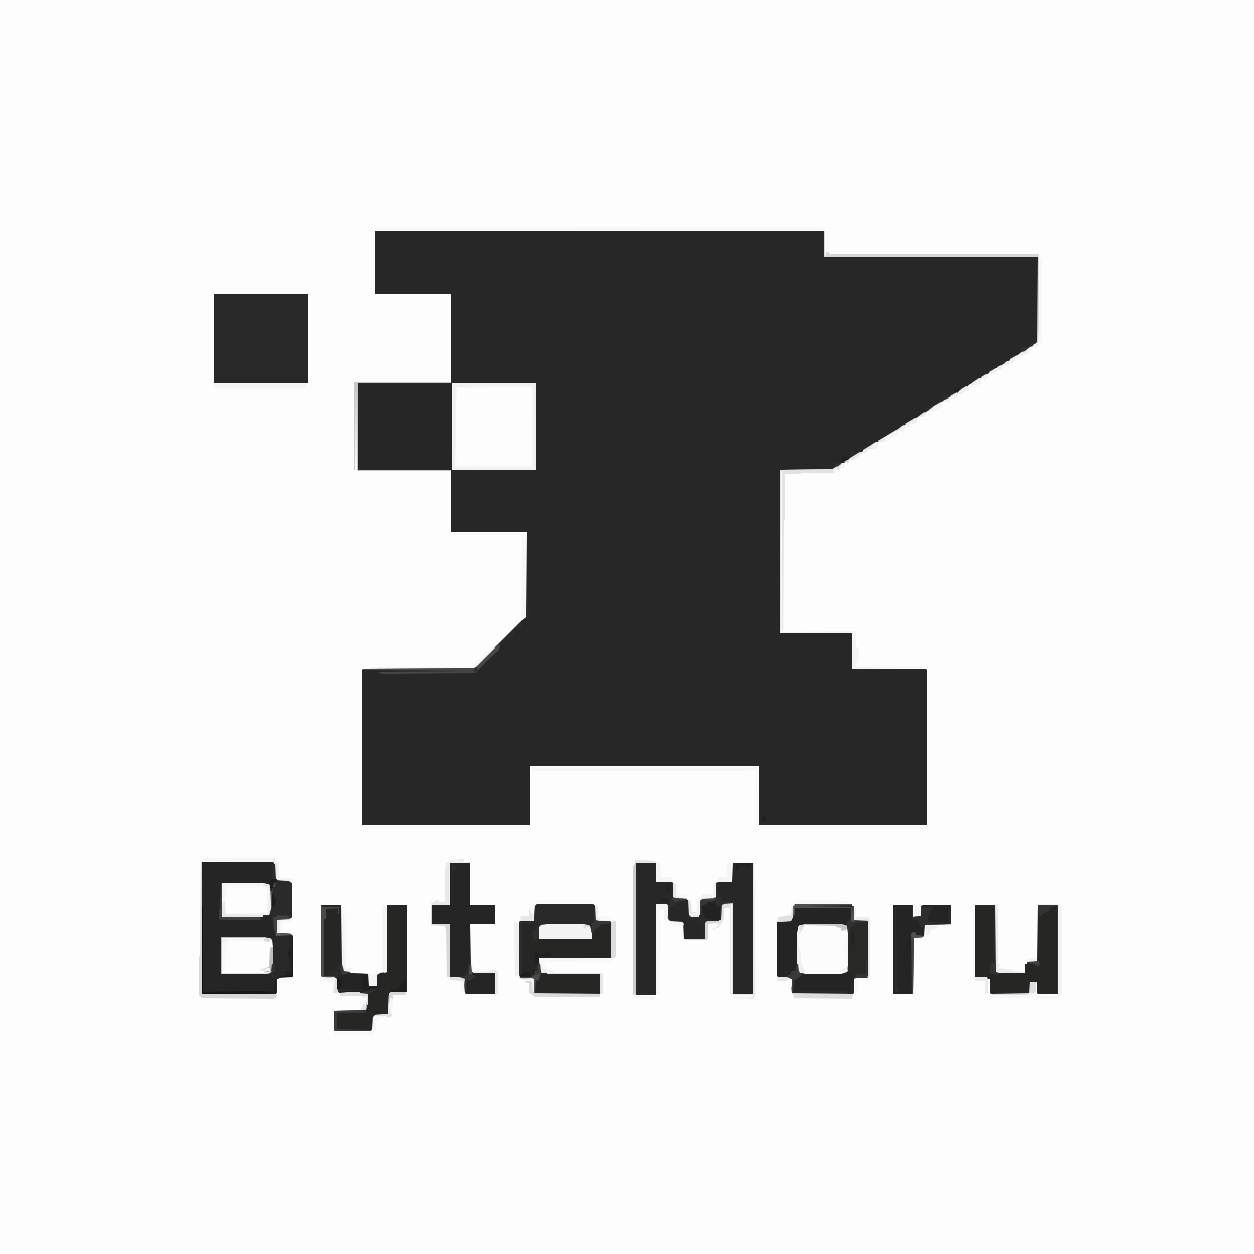
The published black-and-white logo source is 480,220 bytes. Using SVGKIT Color mode with the original background preserved produced a 19,246-byte SVG containing 177 paths in the recorded run. Export settings and source dimensions affect this comparison, so the percentage alone does not establish conversion quality.
Raster logo recovered as traced paths
The limited palette and clear silhouette make the mark traceable, but 177 generated paths are still less controlled than the original vector artwork would be.
- Source
- 480,220 B
- SVG
- 19,246 B
- Paths
- 177
Measured: · Settings: Color / Original
The result may work as a delivery asset after inspection, but it should not replace an editable master if the original vector can be recovered.
Review the geometry
Compare the outer silhouette, counters inside letters, sharp corners, circles, spacing, and alignment. Review the logo on both light and dark backgrounds when transparency matters. Check a small navigation size and a large display size; defects can appear at either extreme.
Text converted by tracing becomes shapes without font information. That can preserve appearance, but it makes future wording and kerning changes difficult. Keep the font name and editable design source in the brand archive when available.
Production workflow
- 1Search for the original vector or editable design source.
- 2Confirm that you have permission to reproduce and modify the mark.
- 3Prepare a tightly cropped, high-contrast raster only when tracing is necessary.
- 4Trace with the least destructive mode that preserves intended colors.
- 5Compare silhouette, spacing, color, transparency, and small-size readability.
- 6Create or retain an editable master separately from the delivery SVG.
- 7Optimize a copy and test it in every required placement.
Common mistakes
Retracing an existing SVG
Rasterizing and tracing again discards useful vector geometry and usually adds complexity. Optimize the SVG source directly.
Using a screenshot as the master
Screenshots include scaling, antialiasing, and background artifacts. Ask for a transparent export or original design file.
Optimizing the only master file
Production optimization can collapse groups or reduce precision. Keep an editable source with meaningful structure.
Ignoring monochrome and reversed variants
A logo that works on white may fail on dark or single-color surfaces. Validate required brand variants separately rather than recoloring one file blindly.
Assuming smaller means approved
Brand accuracy takes priority over byte reduction. A tiny curve or spacing change can matter even when no casual viewer notices it.
Best practices
- Prefer original vectors over automatic tracing.
- Record source ownership and usage permission.
- Crop unused margins before conversion.
- Preserve brand colors with documented values.
- Check transparent, light, dark, and monochrome contexts.
- Keep editable master and optimized delivery files separate.
- Use descriptive filenames and version control for approved assets.
FAQ
Can every PNG logo become a clean SVG?
No. Clean, flat artwork is a good candidate. Texture, shadows, gradients, and compression artifacts can require manual redrawing.
Should logo text remain text in the SVG?
For a final brand asset, designers often convert lettering to intentional vector outlines to avoid missing fonts. Keep an editable source with live text for future changes.
How many paths should a logo contain?
There is no universal target. Compare the count with the visible structure and inspect whether tracing created redundant fragments.
Can I remove width and height?
Keep a correct viewBox. Rendered width and height can be controlled by the consuming layout, but explicit dimensions often help reserve space.
Recover a simple raster logo
Trace a clean source, compare the result carefully, and retain the original artwork alongside the generated SVG.
Open Image to SVG