Image to SVG
Prepare an image, choose a trace mode, and review the downloaded SVG with a repeatable conversion and acceptance workflow.
Quick Summary
- Set a target display size and preserve an unchanged source before tracing.
- Choose Color, Mono, or Line art for the intended appearance, not the smallest preview.
- Review the final download for shape, background, file size, and required edits.
- Category
- Conversion
- Difficulty
- Beginner
- Reading Time
- 5 min
- Related Tool
- Image to SVG
- Best For
- Logos, Icons, Line art
- Avoid For
- Photos, Dense screenshots, Noisy images
Introduction
This guide takes one image from source preparation to an accepted or rejected SVG download. The goal is a repeatable conversion: know what you changed, inspect the final file, and retain a usable fallback.
Tracing estimates geometry from pixels; it does not recover design layers. Raster vs Vector explains that distinction. Here, the focus is the decisions you make before and after pressing the conversion controls.
A three-part go/no-go test
- Visual structure: Can the important parts be described as a manageable set of shapes?
- Production benefit: What must this asset do that the current source cannot?
- Output cost: Does the final download meet your size, appearance, and editing requirements?
Keep photos or dense screenshots as the baseline unless a specific vector requirement justifies a test. When NOT to use SVG contains the failure diagnosis; you do not need to repeat that experiment for every photographic upload.
Prepare a controlled input
Keep an unchanged copy of the source. Record the intended display size, background, and details that must survive, such as a letter opening or a thin line. Crop only unused margins; do not cut into antialiased edges or shadows that belong to the artwork.
Change one input or mode at a time. If you crop, remove a background, and switch modes together, you cannot tell which change caused a missing detail. PNG and JPG preparation guides explain their different edge problems.
Choose the trace mode before upload
| Mode | Intended appearance | What to inspect |
|---|---|---|
| Color | Retain color regions in a logo or illustration | Color boundaries and small regions |
| Mono | A deliberately black-and-white silhouette | Openings that close and nearby shapes that merge |
| Line art | Cleaned black-and-white sketch or diagram | Thin marks that disappear and gaps that close |
Start with Color when color conveys meaning. Line art does not promise editable stroke centerlines; inspect the resulting geometry rather than inferring its structure from the mode name.
Real conversion example: simple logo
This saved Color / Original result was measured on September 13, 2026. Treat it as a review exercise: compare the lettering, the gaps inside the mark, and the white canvas, not just the savings badge.
Simple black-and-white logo
SVGKIT converted the raster source into 177 paths. This comparison includes the whole white canvas, not just the mark. Inspect background paths and lettering before using the trace as a replacement for the original artwork.
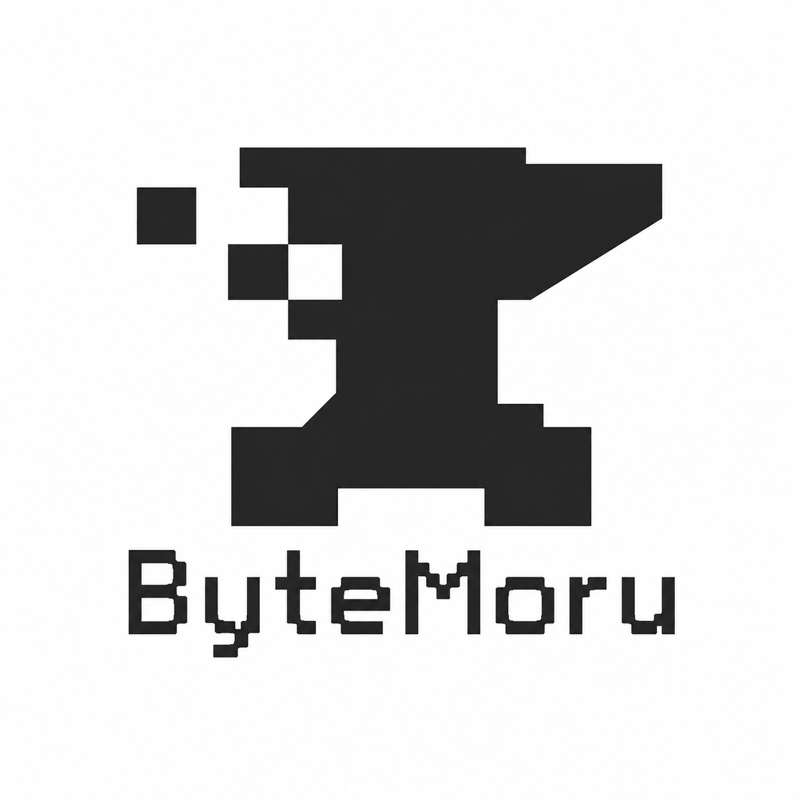
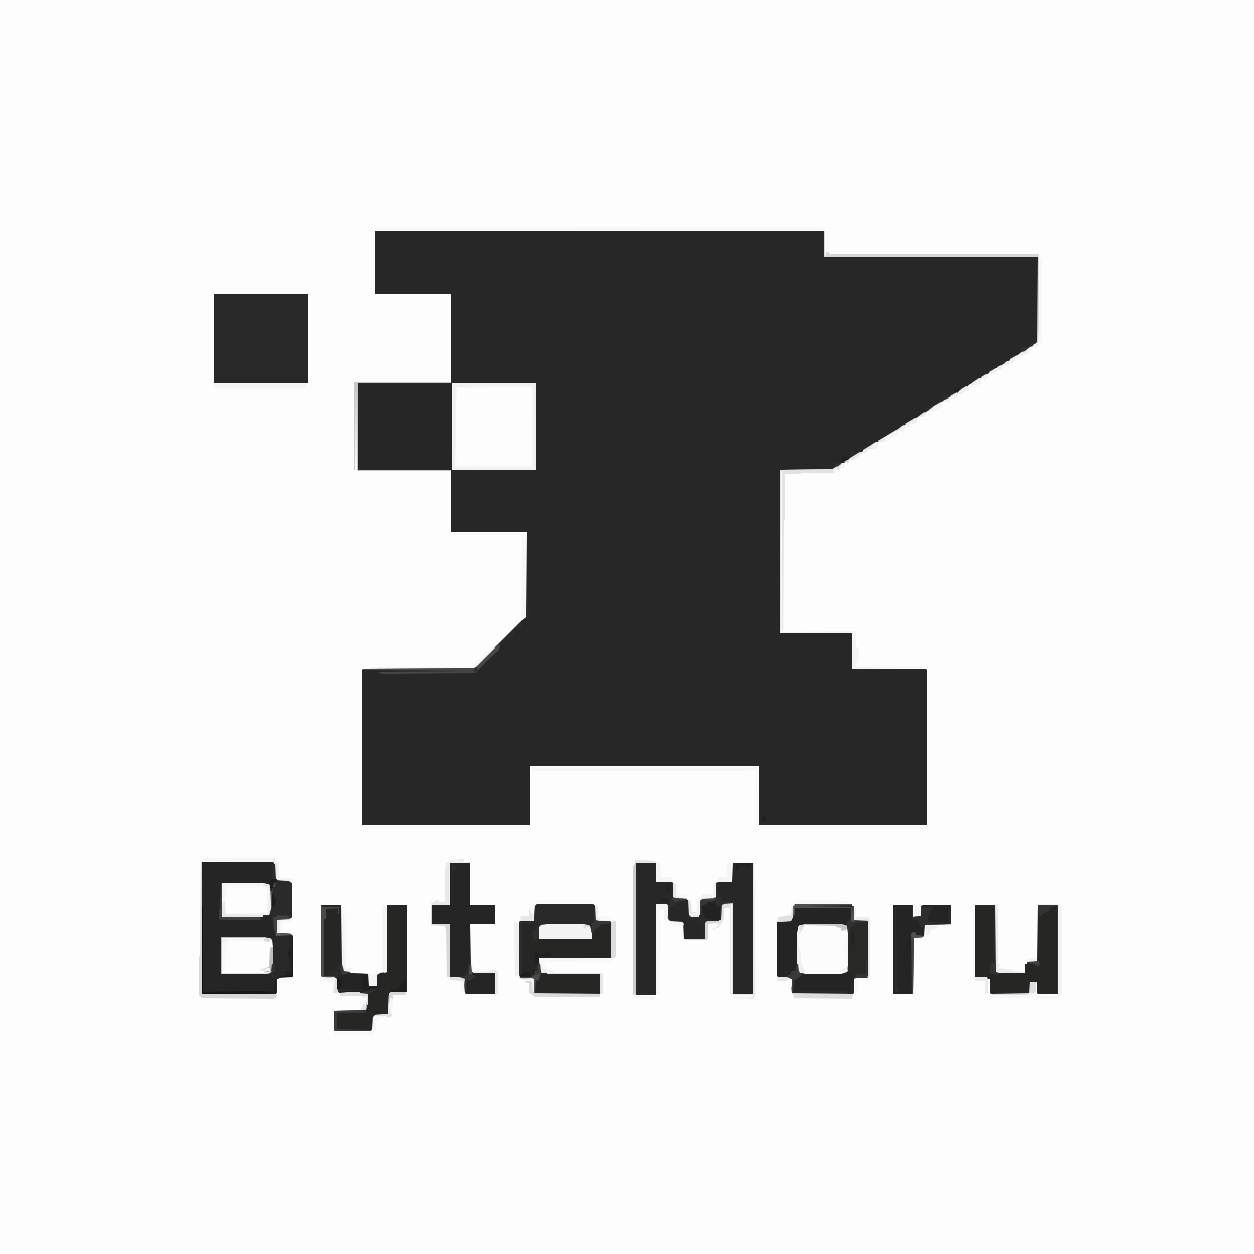
- Source
- 480,220 B
- SVG
- 19,246 B
- Paths
- 177
Measured: · Settings: Color / Original
The published PNG is 480,220 bytes; the saved SVG is 19,246 bytes with 177 paths. The approximately 96.0% reduction describes this export only. It does not measure compressed network transfer or rendering speed, and it does not recover the original designer's objects.
Review the file you will actually ship
Open the downloaded SVG outside the tool preview. Compare at the intended size and an enlarged size, on the backgrounds where it will be used. Check counters in letters, negative space, isolated specks, edge colors, and any background that should remain transparent.
Record the source, mode, final bytes, path count, and one acceptance decision. There is no universal path-count limit: an occasional illustration and an icon repeated hundreds of times have different constraints. Reject an output if it loses a detail that carries meaning, even if it is smaller.
Common mistakes
Comparing different crops
Keep matching canvases for comparison. A tighter crop can look sharper simply because the mark is displayed larger.
Changing every setting at once
Return to the unchanged input and change one variable. Otherwise, a better-looking result is difficult to reproduce.
Assuming cleanup can restore a missing line
SVGKIT cleans the traced result automatically. Optimization can alter markup cost, but it cannot restore information discarded during tracing.
Best practices
- Name and retain the accepted download alongside its source and mode.
- Check the actual embedding context, not just a standalone image tab.
- Recheck the file after a later edit or optimizer pass.
- Keep a raster fallback until the replacement is accepted.
Practical workflow
- 1Define the display size, background, and details that must survive.
- 2Preserve the source and prepare a separate working copy.
- 3Select a trace mode, upload, and wait for the result.
- 4Inspect the preview, then download and reopen the final SVG.
- 5Compare appearance, bytes, and required edits against the baseline.
- 6Accept the file with a short record, or retain the source and diagnose the failure.
FAQ
Should I run SVG Optimizer after every conversion?
No. SVGKIT conversion already includes cleanup. A separate pass is relevant after editing, for another tool's export, or when deliberately comparing settings.
The preview looks correct. Why reopen the download?
You will ship the file, not the preview. Reopening it catches wrong-file selection and lets you check the actual background, display size, and embedding context.
Does a traced letter remain selectable text?
Usually it becomes geometry, not a character. Use actual text where selecting, searching, or editing the wording is required.
Ready for a controlled conversion?
Keep the source unchanged, choose one mode, and compare the final download before replacing the existing asset.
Try Image to SVG